Facial gua sha is a short, repetitive routine, and once you strip away the marketing it comes down to four variables. You need a smooth-edged tool, something slippery between it and your skin, much less pressure than you’d expect, and strokes that run outward and then down. This page walks through the sequence the way it’s commonly taught, explains the angle and pressure that make it work, and covers the handful of mistakes behind most first-session redness.
What follows describes an established technique, not a personal account. We research this the way we research everything here. Published studies where they exist, material properties and product specifications where they don’t. Customer feedback fills the gaps, where it tells us something the specs can’t. Where a claim can be checked, we say what it can be checked against. Where it can’t, we say that too.
This page is general information and it is not medical advice.
What you need
Three things, and only one of them has to cost anything.
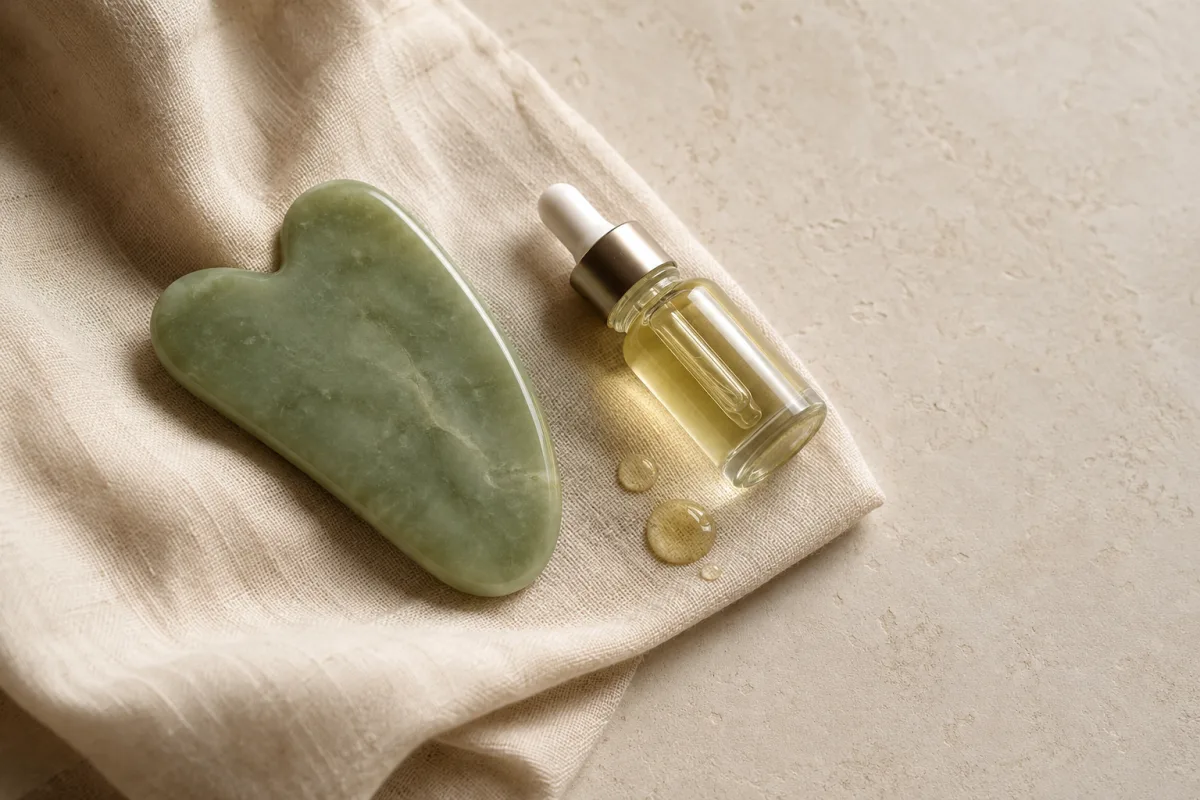
A slip agent. This is the one people skip, and skipping it causes more first-session irritation than every other mistake on this page. A stone tool on dry skin doesn’t glide, it drags, and drag on the face shows itself fast. Facial oil works, so does a balm, so does a serum with enough body to it. There’s an easy way to calibrate how much: put a few drops on your fingertips and rub them together before you start. If your fingers slide past each other with no catch at all, that’s roughly what you want between the tool and your cheek. Too little and you’ll feel the edge grab as it moves. Too much and the tool skates over the surface without ever really making contact, which feels pleasant and does nothing.
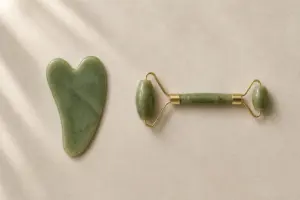
A tool with a well-finished edge. Almost any smooth-edged tool with a curve that roughly follows the side of your face will do the work. Edge finish matters more than material, and it happens to be the one thing product photography is worst at showing. Where the flat face rolls into the working edge you want a gentle radius, not an abrupt step with a faint grinding ridge left on it. That ridge is what catches. Material settles two other questions: how long the tool stays cool against your face, and whether it survives a drop onto a bathroom floor. Both are covered in gua sha vs jade roller and in more detail on the tool shortlist.
Clean hands and a clean tool. Wash the tool with soap and water after every session, and dry it before it goes back in the drawer. Non-porous surfaces with no seams are genuinely easier to get clean than porous ones, and oil that works its way into a seam tends to stay there. If you’re using a roller instead of a flat stone, keep an eye on the join where the stone meets the metal bracket. That join collects residue, and it’s also the part buyers most often report starts squeaking after a few weeks of washing. A drop of oil in the join usually settles it.
The four rules that matter more than the sequence
Most first-session problems have nothing to do with the order you work in. They come down to four things, and once those are right the sequence itself is fairly forgiving.
Angle: keep the tool close to flat. Lay it against your skin so you’re working with the broad part of the edge instead of digging in with a corner of it. The motion is much closer to sliding a credit card across a table than to scraping frost off a windshield. Hold the tool upright and you concentrate everything into a thin line, which is exactly how people give themselves red streaks on the first attempt.
Pressure: lighter than you expect. Facial gua sha adapts a body technique that was deliberately firm enough to raise marks on the skin. The facial version isn’t trying to do that. Treating it like the body version is the most common way to overdo it. Two visible signs you’ve gone too hard: skin blanching pale under the tool, and skin bunching up ahead of the edge instead of passing smoothly under it. Either one means ease off.
Direction: outward and down, then finish low. Strokes run from the center of your face outward toward the ear and hairline, then down the side of the neck toward the collarbone. Finish each pass at the same endpoint instead of lifting off somewhere in the middle of your cheek. It’s a small habit, and it’s most of the difference between a routine that feels deliberate and one that feels like poking at yourself in front of a mirror.
Repetition, not force. A few passes per section, then move on. Doing one section harder isn’t a substitute for doing it more times, and it’s the shortest route to bruising yourself.
What a session should feel like
Worth setting out, because the feedback this routine gives you is subtle and easy to misread.
Pressure should feel firm and comfortable, closer to a press than a scrape. A stone tool comes out of the drawer noticeably cooler than your skin and steel more so, so that first contact is cold enough to be startling on the cheek. Then it’s gone, because the tool warms to skin temperature within a few strokes. Some people keep the tool in the fridge if they want the cool to last a little longer, though it’s a short-lived effect either way.
Mild pink that fades within a few minutes is normal and expected. Redness that’s still visible by the time you’ve finished getting ready is a different signal. So are streaks you can trace with a fingertip, and so is any genuine soreness. Each one points back to the same short list: too much pressure, too steep an angle, or not enough slip. None of that is an injury. All of it is worth acting on before the next session rather than pushing through.
The sequence
Work one whole side of your face, then the other. Doing it in that order lets you glance in the mirror halfway through and see whether the two sides look different, which is the only real-time feedback this routine offers. A full pass takes about ten minutes, which is also the session length used in the trial discussed below.
-
Neck first
Two or three light passes down each side of your neck, from just under the jaw toward the collarbone. Starting at the neck instead of ending there is the whole point: the neck is where everything you are about to move from your face has to go, and it helps to open that route before you use it.
-
Jawline
From the center of your chin, along the bone, out to the earlobe. If your tool has a notched side, this is what the notch is for. Let the jaw sit down inside the curve so the edge makes contact along its length instead of at one point.
-
Lower cheek
From beside your nose, out toward the ear, staying below the cheekbone. This is the easiest section to get right, which makes it a good place to check your angle before you move anywhere more delicate.
-
Upper cheek and under the eye
From the inner corner outward, along and just below the cheekbone. Lighten up noticeably here. The skin thins as you move toward the eye, and it will tell you well before you have gone too far.
-
Eye area
The gentlest work of the session, if you do it at all. From the inner corner outward along the brow bone and around the orbital rim, never dragging the lid itself. If your tool is too large to follow the curve of the socket, skip this step instead of forcing it.
-
Brows and forehead
Along the brow line first, then upward and outward from the center of your forehead to the temple. Forehead skin sits almost directly on bone, so there is less give here and less room for heavy pressure.
-
Finish at the neck
One or two final passes down each side, ending at the collarbone, the same as you started. Closing where you opened is the tidiest way to end, and it costs you almost no time.
How often, and what to expect
The clearest evidence available uses a schedule most people won’t keep. A randomized controlled trial published in the Journal of Cosmetic Dermatology in 2025 had participants run ten-minute sessions five times a week for eight weeks. In the gua sha group, facial surface distances decreased by between 2.23 and 2.40 mm, a statistically significant change (p < 0.001). The same group showed measurable reductions in muscle tone: oscillation frequency down 2.02 Hz and dynamic stiffness down 56.46 N/m.
Two things in those numbers are worth sitting with.
The scale. Roughly two millimeters is a real change and it was measured properly, but it’s still roughly two millimeters, in a trial built to detect exactly that. It’s the kind of difference you might catch in the mirror if you already knew to look for it. Anyone promising a transformed jawline is describing something other than this study.
The schedule. Forty sessions across eight weeks is what produced the result. A tool used twice a month won’t reproduce it. The trial’s authors also say plainly that eight weeks tells us nothing about whether the improvements hold once you stop. Thirty-three participants is also a small group. This is one good study, not a settled literature, and it reads better as a starting point than as a promise.
What the technique doesn’t do is worth stating just as plainly. It doesn’t detoxify anything, it doesn’t reduce facial fat, and it’s no substitute for an injectable. Those limits are set out more fully on at-home facial massage.
Five things that go wrong
- No slip agent. Covered above, and worth repeating because it’s behind most first-session irritation.
- Tool held too upright. Concentrates force into a line and leaves streaks. If you see them afterward, the angle is the first thing to change.
- Working upward on the neck. Neck strokes run down toward the collarbone. Upward passes push against the direction everything else in the sequence is trying to move.
- Chasing pressure instead of repetition. More force doesn’t make up for fewer passes, and it’s the fastest way to bruise yourself.
- Skipping the wash. A tool that sits in a drawer with last session’s oil on it and then goes back on your face is a hygiene problem no matter what it’s made of.
Where to go next
If you’re still choosing between a flat stone and a roller, the two aren’t interchangeable, and the same trial measured different effects for each. That comparison is in gua sha vs jade roller. If you’ve settled on a flat tool and want to know which material and shape to look for, start with the tool shortlist. How any of it gets assessed is described in our selection criteria.